Measuring for Delivery
The ten-minute tape-measure routine that prevents delivery-day surprises — doorways, stair turns, hookups, and the clearances everyone forgets.
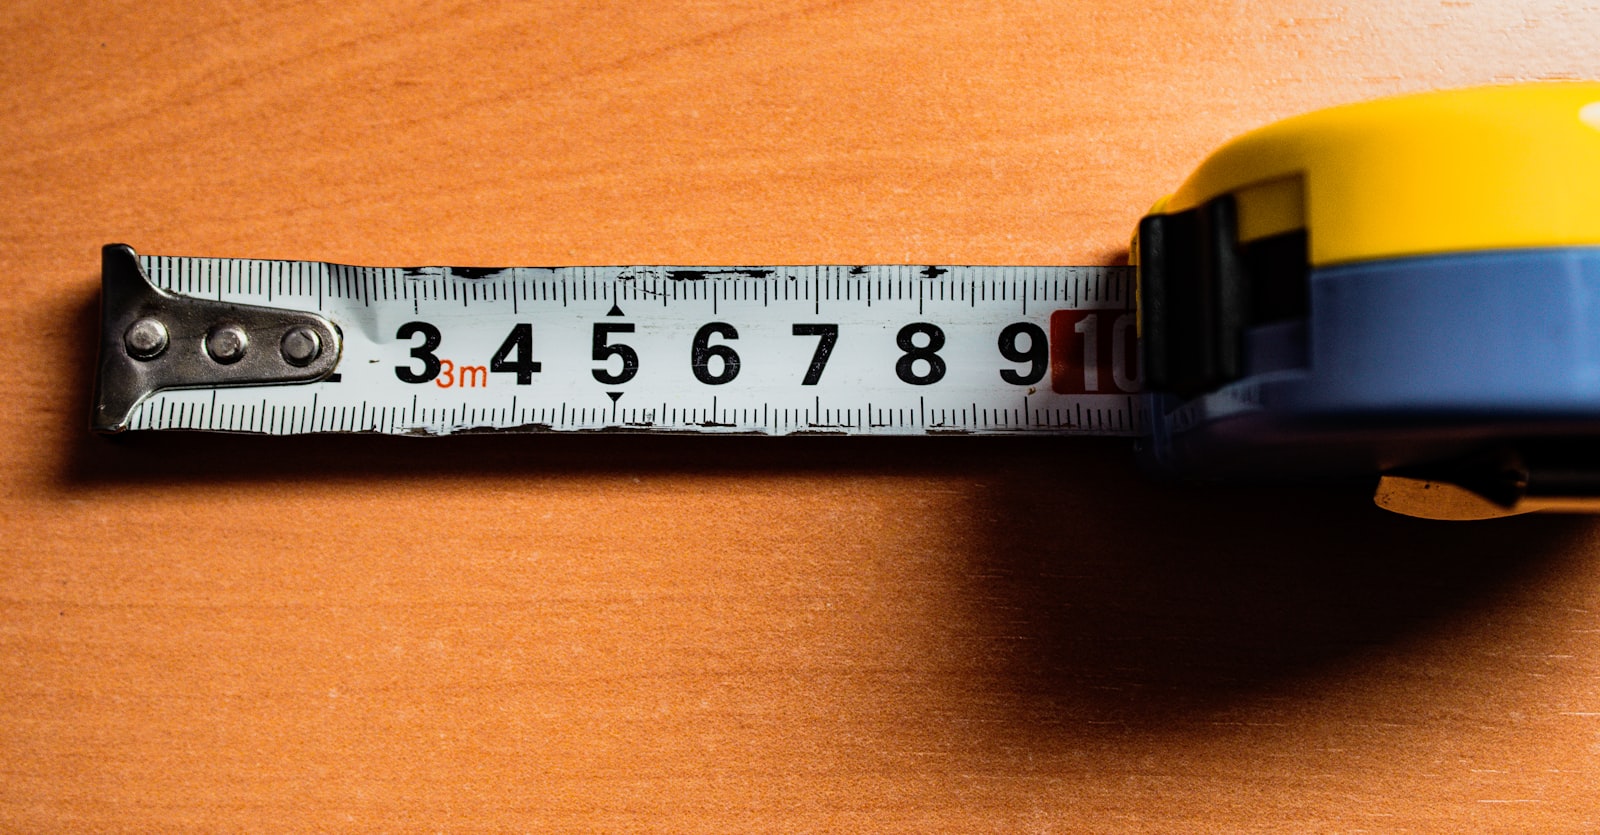
Ten minutes now beats a re-delivery later
Our crews complete thousands of deliveries a year, and the ones that go sideways almost never fail at the kitchen — they fail at a doorway, a stair landing, or a hookup nobody looked at. Here's the exact routine we use on our pre-delivery measure visits. All you need is a tape measure, a phone for photos, and ten minutes.
Step 1: The path
Walk the route from the street to the appliance's final spot and measure the narrowest point of every opening along the way — front door, storm door (they steal two inches), hallways, interior doors, and any stair turns.
- Measure doorways from stop to stop, not trim to trim, with the door open. A "30-inch door" usually passes about 28.5 inches with the door and hinges in play.
- On stairs, the killer is the turn: measure the diagonal at the landing and the ceiling height above the stairs. Refrigerators travel on a hand truck at an angle — a low ceiling over a landing stops more fridges than any doorway.
- Note handrails, light fixtures, and radiators. Handrails can come off in five minutes; discovering one at delivery costs you a window.
Rule of thumb: you need about one inch of clearance beyond the appliance's depth (with handles removed — we do that in the truck) at the tightest point of the path.
Step 2: The destination
Measure the cutout's width, height, and depth — width in three spots, because older cabinets are rarely square. Then check the surroundings:
- Refrigerators: which way can the doors swing? A wall within four inches of the hinge side keeps crispers from opening.
- Ranges and dishwashers: confirm counter height and that flooring height changes (new tile, anyone?) haven't shrunk the opening.
- Laundry: leave roughly four inches behind the machines for hoses and venting, and confirm closet doors can close in front.
Step 3: The hookups
Photograph what's back there and check it against what you're buying:
- Water: fridges with ice makers need a shutoff valve within reach.
- Electric: dryers and electric ranges need a 240V outlet — if yours has three prongs, tell us; we bring the right cord either way.
- Gas: note the shutoff valve's location and age. Our installers replace tired valves on the spot rather than trusting a 1970s fitting.
- Venting: measure the dryer vent's position so we bring the right transition, not a hardware-store detour.
Step 4: Send it to us
Text or email the numbers and photos with your quote request, or bring them to either showroom. If anything looks close, we'll schedule a free measure visit before you're committed to anything. We would genuinely rather send a person with a tape measure twice than send a truck to the wrong-sized doorway once — that's the entire secret of our delivery success rate.